Every theme built on Vertex also comes with its own unique theme specific options applicable to that particular theme such as highlight colors, social icons, and much more. These features are in addition to the standard functions of Vertex, and are still controlled through the very user friendly interface of Vertex. This page will document the features specific to this template.
Theme Specific Configuration Interface of Vertex
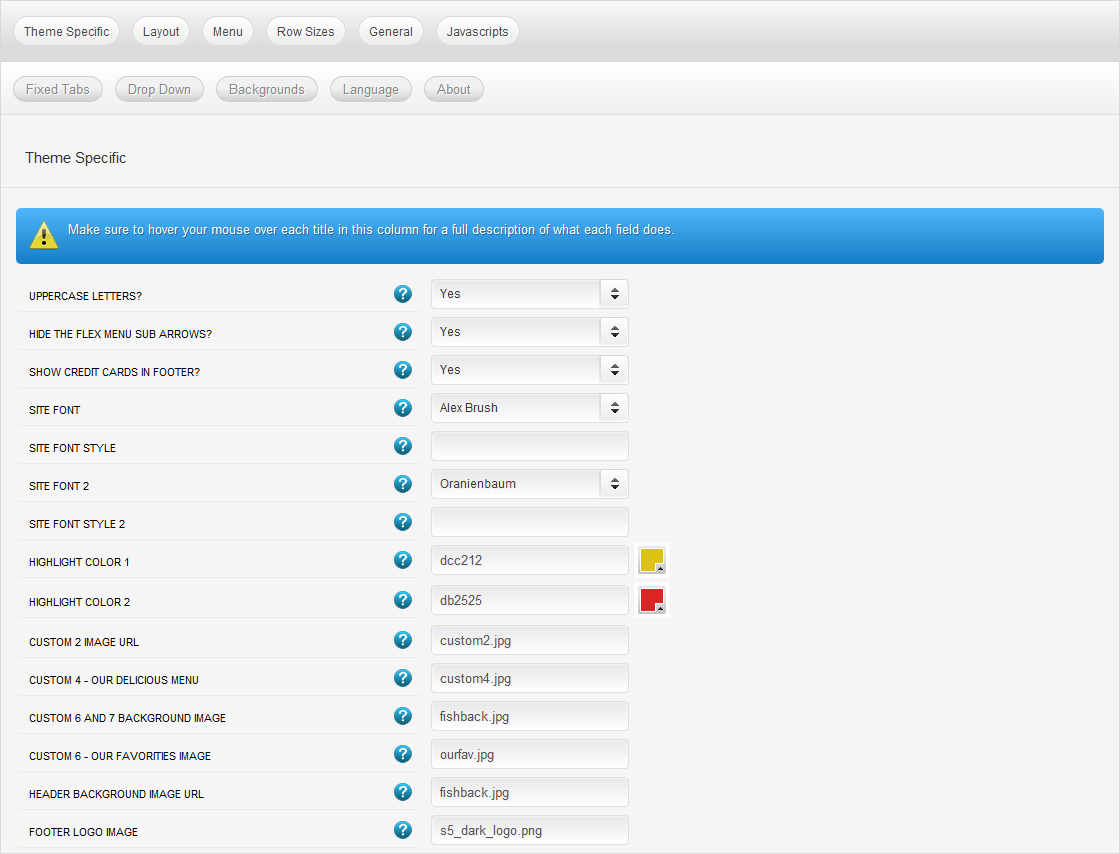
Below is a screenshot that shows all the theme specific features available in the user friendly Vertex admin:
Custom Highlight Colors
Stylize your site with any color you want. Set your own custom color scheme with the built in highlight colors. These control menu items, titles, buttons, hover over effects, backgrounds, and much more. You can set this color to any color that you want. Below is an example so you can see how this works.
Custom Highlight Font
Choose a custom highlight font powered by Google fonts. You can set a custom font for the titles, buttons, and much more. This is used in conjunction with the default site font which is controlled under the Layout tab of Vertex, and controls many other elements as well.
Uppercase Letters
Choose to enable or disable uppercase letters on most menu items, buttons, titles and more.

Hide Menu Arrows
With this option you can disable the menu item sub menu arrows.
Login, Register, Search and Font Resizer
On our demo of Fresh Bistro we have disabled all of these but if you desire to enable the below screenshot shows that they will appear at the top of your site.
Centered Logo
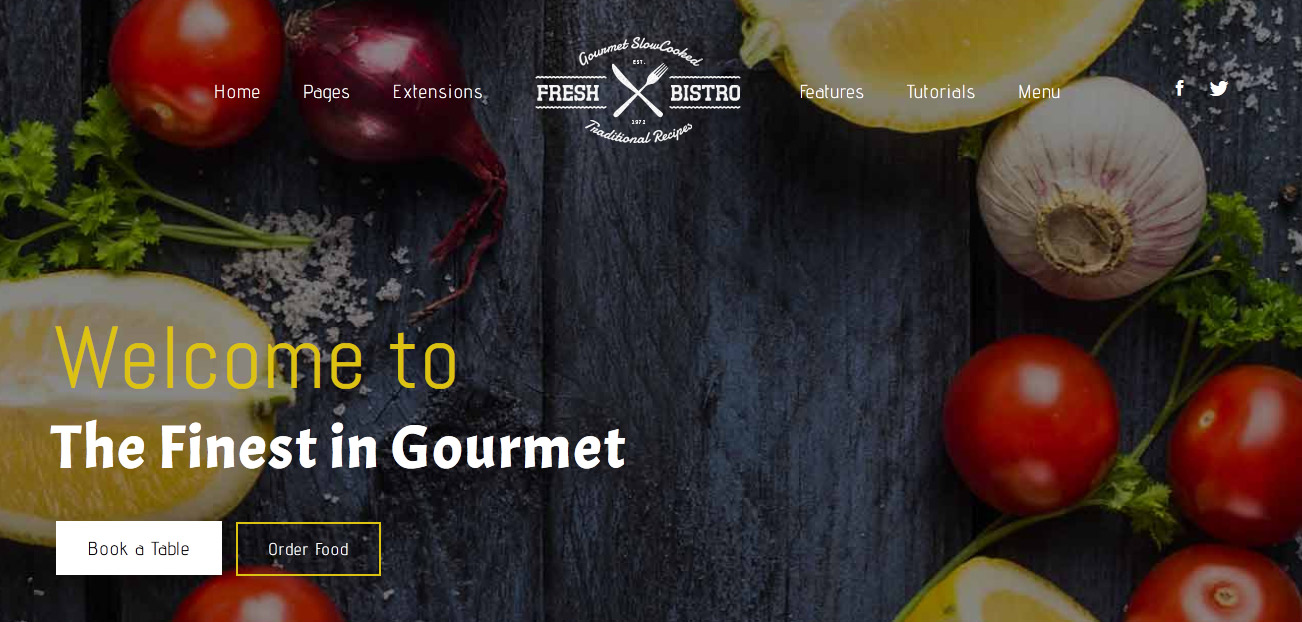
In this design we have for the first time included a centered logo within the main menu. To do so we had to add some JavaScript and custom CSS. Below is a screenshot of the logo as seen on the site and following it is a small tutorial to guide you on how to set this up.
1. The first step to create the centered logo is to create a new menu item and publish it between all your other menu items and add the "s5_logo_spacer" class to it (you may have to enable "CSS Classes" on the "Screen Options" tab in the top-right corner of the menu editor first):

To get it centered at a good spot you may have to reword or add/remove a menu item since the logo is just another menu item itself. It works best when you have an even amount of menu items so that you can just stick the logo right in the middle of them. Below is a screenshot of this first step under the WordPress menu manager area.

2. We recommend using a Text widget and publishing it to the "logo" position vs just using the built in logo method that we include with our designs. (this will allow us to show a dark image for the floating menu). So in your TExt widget you will enter the following:
<div class="s5_sitelogo"> </div>
5. Next you may need to edit the width and height of your logo here:
template.css (line 640)
.s5_sitelogo {
background: url("../images/s5_logo.png") no-repeat scroll 0 0 rgba(0, 0, 0, 0);
color: #ffffff;
height: 114px;
width: 216px;
}
.s5_sitelogo {
background: url("../images/s5_logo.png") no-repeat scroll 0 0 rgba(0, 0, 0, 0);
color: #ffffff;
height: 114px;
width: 216px;
}
eCommerce powered by Snipcart
This month we've introduced a new widget that works with Snipcart.com. You simply publish it to the "cart" position and check our the tutorial on how to set it up under the "extensions > s5 snip cart" area of this demo.

